

How to insert an image on a background with GIMP
Composing images with other images or inserting new objects.
It is much easier than it seems, and is done with the scissors, copy and paste tools, in a few steps.
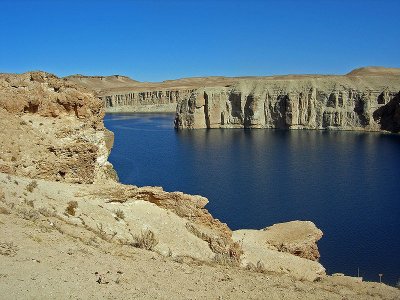
We want to superimpose a photo of Zallascht Sadat (Miss Afghanistan in 2008) on Lake Band-e Amir.
1) Background image and image to superimpose |
|
 |
 |
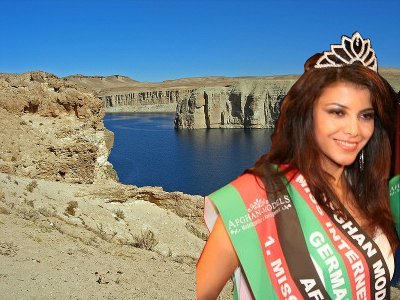
2) Bring up the photo at right. |
|
To remove the black background and replace it with a transparent background, use the manual scissors tool, and define the edges of the image to keep. In fact that is both simple and quick.
|
 |
3) Convert to a selection |
|
When the last point is superimposed on the starting point, the scissors tool is automatically turned off and the image of a lasso replaces the mouse cursor. |
 |
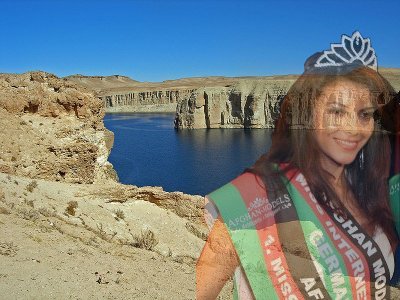
4) Superimposing the image |
|
 |
Now in the image of the model, click on "Select All" then click "Copy". |
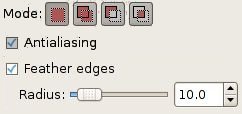
5) An option: A fade effect |
|
 |
When you paste the image of the model, you have two layers, one for the background image and another for the floating image, the one you just pasted. |
These images are under the Creative Commons License.